Romestead Trading Post Guide: How to Use It and Fix Unloading
A practical route from unlocking the Trading Post to keeping imports, exports, storage, roads, and village labor moving without turning one stalled delivery into a settlement-wide bottleneck.
On this page
How to unlock and build the Romestead Trading Post
Current community references place the Trading Post behind Mercury progression. The practical approach is to continue the main settlement and god progression until Mercury's relevant blessing becomes available, then confirm the building appears in the construction menu. Community-maintained data checked on July 30, 2026 lists a basic construction cost of four Logs and four Stone, but Early Access values can change, so treat the in-game build panel as the final authority.
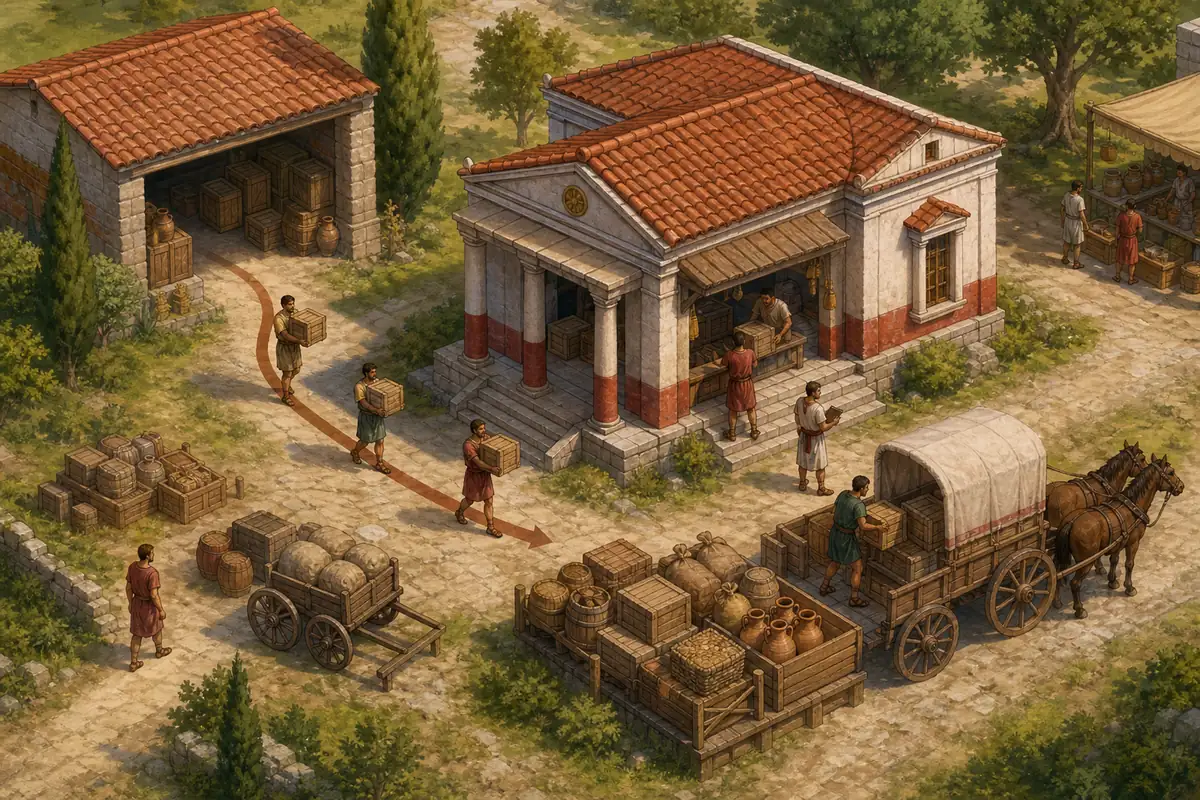
Do not place it at the remote edge of town just because the building fits there. A trade is only the transaction; villagers still need to carry export goods into the post and move imported goods toward valid storage. Reserve a clear road connection, nearby storage capacity, and enough open space that carts and workers do not compete with a crowded production lane.
If the building is missing, verify progression before assuming a bug. Check that the Mercury blessing was actually claimed, that the current save has advanced far enough, and that no mod is replacing construction data. A restart can refresh a menu, but it cannot substitute for an unmet unlock condition.
Verified community value
The current wiki listing shows Mercury as the unlock route and a cost of 4 Logs plus 4 Stone; recheck after major patches.
Placement rule
Build for the hauling route: storage, road access, and free unloading space matter more than a decorative location.
How to use the Trading Post without wasting labor
Open the Trading Post and choose the available buy or sell action that matches your current goal. Before confirming, compare the requested goods with the stock you can spare and the destination capacity for anything arriving. Selling the last reserve of food, repair materials, or a production input can solve a short-term shortage while creating a larger one elsewhere.
After a trade completes, do not expect every crate to teleport into central storage. The post acts as a logistics handoff. Imported goods may wait briefly before settlement workers move them, and exported goods need to reach the building before the trade can function reliably. Watch the actual route for a short period instead of repeatedly changing orders.
Use one controlled trade first. Record what left, what arrived, and where it was stored. Once that route works, increase volume gradually. This makes it much easier to identify whether a failure comes from trade settings, item availability, storage filters, pathing, or an overloaded workforce.
| Before confirming | What to verify | Why it matters |
|---|---|---|
| Export | The goods exist and are not a survival reserve | A profitable trade can still stop food, repairs, or production |
| Import | A valid storage destination has free capacity | Purchased goods can remain at the post when nowhere accepts them |
| Both directions | Road and labor capacity are available | The transaction and the physical hauling are separate steps |
Design a short Trading Post route from storage to destination
The best Trading Post layout is usually compact. Put frequently exported stock close enough that villagers are not crossing the entire settlement, and give imported stock a nearby storage option that accepts the item. A short route reduces the chance that urgent hauling loses priority to farming, repairs, crafting, defense, or another distant delivery.
Storage capacity alone is not enough. Check whether the destination accepts the specific item and whether another production chain is immediately removing it. A warehouse can look empty while still being unusable for the incoming category. Likewise, a full general storehouse can block unloading even when other specialized storage exists elsewhere.
Treat roads and open access as part of the building. Decorative objects, construction sites, damaged paths, and dense intersections can all make a route harder to read. If you are troubleshooting, temporarily simplify the path and pause nonessential expansion so the Trading Post flow becomes observable.
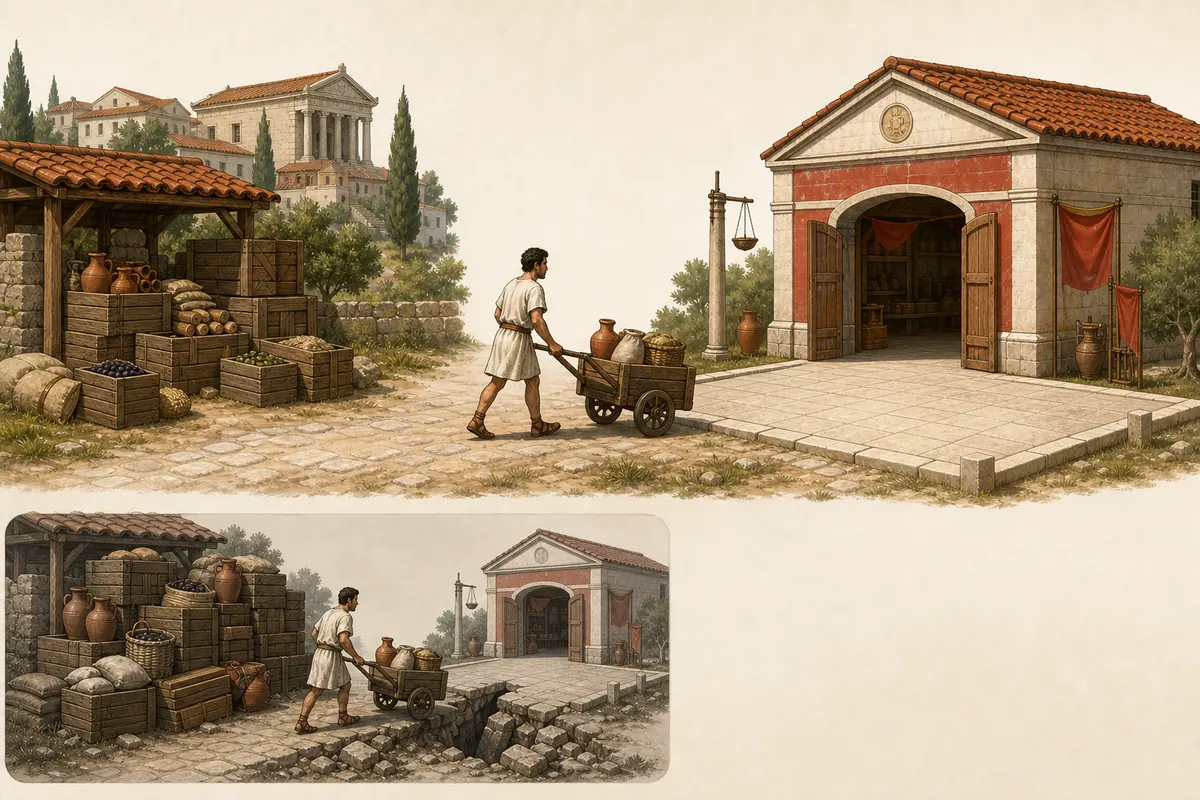
Romestead Trading Post not working or not unloading: fix it in this order
First confirm that a transaction actually finished and allow a brief hauling delay. Community guides note that goods can sit at the Trading Post before workers move them. If the stack never changes, inspect the destination rather than immediately demolishing the building: free capacity, accepted item type, road continuity, and available village labor are the highest-value checks.
Next reduce competition. Pause a low-priority build, long crafting queue, or remote hauling task and watch whether a worker claims the Trading Post goods. If movement resumes, the post was not necessarily broken; the settlement had too many simultaneous logistics demands. Reassigning the entire village is usually less useful than freeing one clear transport path and one valid destination.
If storage and pathing are correct, save, return to the main menu, and reload. Then test one small trade with mods disabled if the save uses them. Preserve a backup before removing mods or changing the settlement layout. Report persistent behavior with the game version, save context, selected trade, item, and screenshots so developers or the community can reproduce it.
Goods appear but do not move
Check accepted storage, free slots, a connected path, and whether villagers are overloaded with higher-priority work.
No trade option or building
Check Mercury progression and the current build menu before treating the missing option as a logistics failure.
Choose trades that remove a bottleneck instead of creating one
Use imports to bridge a temporary shortage, not to hide a broken production chain forever. A useful import lets the town finish a key building, recover from pressure, or restart an important workshop. If the same shortage returns immediately, investigate production, storage, distance, tools, and worker allocation rather than increasing trade volume again.
Use exports for true surplus. Keep a reserve for food, repair inputs, recurring recipes, offerings, and the next planned construction step. The correct reserve changes with settlement size and current risks, so avoid a universal sell threshold. Watch whether exporting one item silently starves another workstation that shares the same input.
The Trading Post is strongest when it supports a stable resource plan. Pair this page with the broader resources guide for storage and production priorities, and the villagers guide for job allocation. That boundary keeps this article focused on trade setup and troubleshooting rather than repeating every resource or workforce system.
| Situation | Better trade decision | Avoid |
|---|---|---|
| One-time construction shortage | Import a controlled amount and finish the bottleneck | Permanent overbuying with no storage plan |
| Warehouse overflowing with renewable goods | Export only the measured surplus | Selling materials shared by food, repairs, or offerings |
| Post repeatedly stalls | Fix route, storage, and labor before scaling | Adding more orders to a blocked chain |
Trading Post diagnostic checklist
| Check | Pass condition | If it fails |
|---|---|---|
| Unlock | Mercury progression completed and building visible | Continue progression or recheck the blessing |
| Trade | A valid buy or sell order completed | Confirm goods, cost, and current option |
| Storage | Correct item type accepted with free capacity | Free slots or use suitable storage |
| Route | Continuous accessible path between post and storage | Clear or shorten the route |
| Labor | At least one worker can take hauling work | Pause lower-value jobs briefly |
| Save state | Small unmodded test behaves consistently | Reload, back up, then isolate mods or report the bug |
Romestead Trading Post FAQ
Sources and verification notes
- Official Romestead Steam page - Official store and update context checked July 30, 2026.
- Community Trading Post data - Unlock and construction values; community-maintained and subject to patch changes.
- Steam Community unloading discussion - Player-reported troubleshooting context, not official documentation.
- Trading Post tutorial index - Community tutorial context for the embedded walkthrough.