Romestead Chest Guide: Storage, Placement, and Logistics
A practical Romestead chest and storage guide for choosing the right storage type, placing it near the jobs that need it, and diagnosing workers or materials that stop moving.

On this page
The short answer: a Romestead chest needs the right type and the right route
Most storage problems in Romestead are not solved by placing more boxes. They come from a mismatch between the item, the storage category, and the distance a villager must travel. Start by identifying what is stuck: building materials, food, a crafted output, or a resource that a special building handles differently. Then choose a storage option that the current build actually accepts.
The second check is the route. A chest at the edge of the settlement may still be technically reachable, but it can turn every delivery into a long walk. The useful question is not whether the storage yard looks full; it is whether the worker can collect an input, deliver it, and return to the next job without spending the whole cycle travelling.
This page treats storage as a logistics decision rather than a fixed build order. Romestead is in Early Access, so exact recipes, capacities, labels, and interaction controls should be verified in the current game build. The durable advice is to keep storage close to the production loop, separate food from general materials when the game does so, and change the layout when the bottleneck moves.
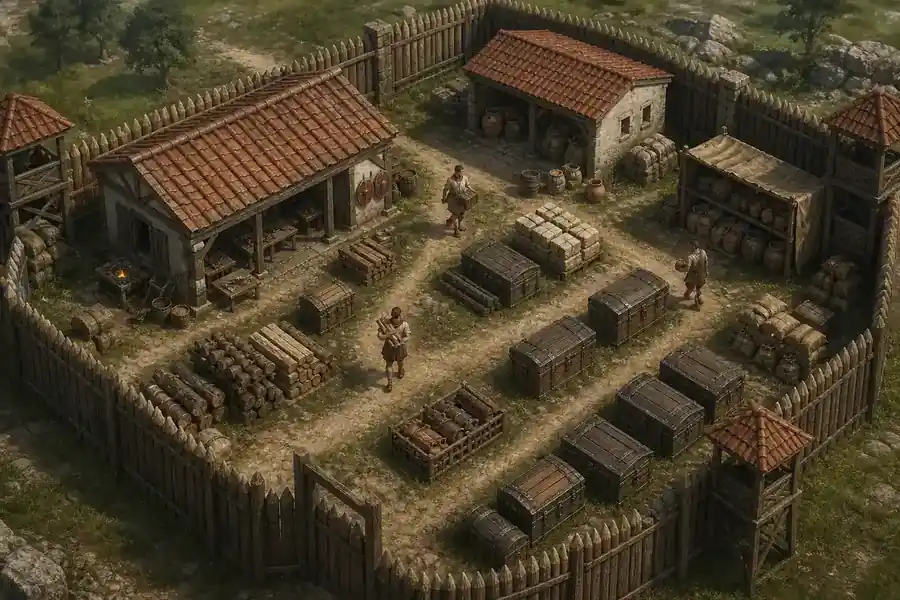
Use the item category
Materials, food, and building-specific inputs may not share one storage rule. Read the current building panel before adding another chest.
Use the shortest useful route
Place storage where a worker can serve both the input and output side of the job, not merely where there is empty ground.
Material Storage, Food Storage, and ordinary storage chests
The phrase Romestead chest can describe several player goals: making a basic storage object, finding somewhere for construction materials, keeping food available to citizens, or moving a chest that was placed in the wrong part of the base. These goals look similar in search results but are not always the same in the building menu.
Material Storage is the clearest starting point for general building and production materials. The community wiki currently describes it as a 50-slot storage building, while Food Storage is a separate building with its own purpose and current cost information. Treat those numbers as version-sensitive facts, not permanent rules: the official Steam page and the in-game build panel are the final checks when an update changes the system.
A production building may also have an input or output slot that behaves differently from a general chest. If a resource will not move into a nearby box, first ask whether the destination is the correct category, whether the building is requesting that resource, and whether a villager has a valid path. Adding a second general chest cannot fix a category or assignment mismatch.
| Storage need | Best first check | Do not assume |
|---|---|---|
| Building and crafting materials | Try Material Storage or the destination building's input rule | That every chest accepts every material |
| Food for the settlement | Check Food Storage and the current food flow | That a general material chest replaces food storage |
| A production output | Read the building's output/storage behavior | That the nearest box is always the valid destination |
| A chest placed far away | Compare walking distance with the job cycle | That more capacity fixes a long route |
| Exact capacity or recipe | Verify the current game panel and wiki entry | That an old guide's numbers still match Early Access |
How to make and place a chest in Romestead
To make a chest or storage building, open the current construction menu and search the storage or logistics category rather than relying on a remembered hotkey. Choose the storage type that matches the item you want to hold. If the option is missing, check prerequisites, available materials, and the current version before assuming that the game is bugged.
Place the first storage object beside the job that creates or consumes the resource. For a workshop, that usually means keeping common inputs and the next output route close together. For food, place the relevant storage where workers and the settlement's distribution path can reach it without crossing the entire base. Leave enough space for villagers to walk around the object and for future roads or defenses.
After placing it, test one complete cycle: gather or craft one item, watch where the worker carries it, and confirm that the destination accepts it. If the item reaches the chest but the next job still waits, the missing link is probably the consumer, the recipe, the worker assignment, or the path rather than the chest itself.
| Step | What to do | Pass signal |
|---|---|---|
| 1. Identify the item | Separate material, food, output, and special-building needs | You know which storage category should accept it |
| 2. Open the build menu | Use the current storage/logistics entry and read its panel | The option is available and its requirements are visible |
| 3. Place it near the loop | Keep storage between the useful input and output paths | Workers do not cross the whole base for one delivery |
| 4. Test one cycle | Watch a real item move from source to storage or consumer | The destination accepts the item and the job resumes |
| 5. Expand carefully | Add capacity only after the first route works | More storage removes a queue instead of hiding it |
Build a storage layout that keeps workers moving
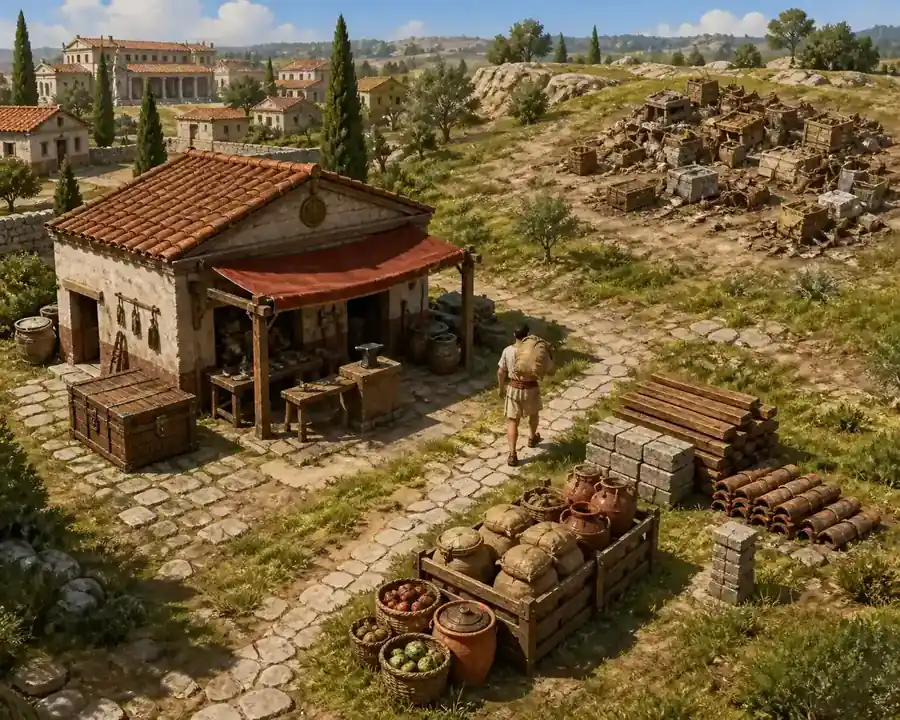
A good Romestead storage layout is compact, readable, and easy to defend. Put the highest-frequency materials near the buildings that use them, keep food logistics separate when the game requires it, and reserve a clear lane for workers carrying large or repeated loads. This is more valuable than making a large storage yard that looks organized but sits far from the work.
Use the settlement's actual walking paths as evidence. If a villager repeatedly passes the same gate, road, workshop, or production building, that route is a better place for a small working cache than an empty corner. When an expansion moves the work front, move or rebuild the storage point instead of asking every worker to keep crossing the original base.
Storage also affects recovery after a zombie attack or a failed production push. Keep repair materials and food reachable from the protected core, and do not let optional stockpiles block the route that critical workers need. A smaller storage plan that survives disruption is usually better than a larger plan that depends on one fragile path.
| Observed symptom | Likely storage/layout issue | Practical change |
|---|---|---|
| Workers walk while production waits | Storage is too far from input or output | Move the working storage closer to the active loop |
| Materials exist but a building says it lacks them | Wrong category, destination rule, or path | Check the building panel before adding another chest |
| Food looks available but citizens still struggle | Food storage or distribution route is separate | Inspect the food-specific storage and travel path |
| Repairs stop after an attack | Repair inputs are outside the protected route | Keep a repair reserve and storage point near the core |
| Expansion creates more walking | The old storage hub no longer matches the work front | Relocate the hub before adding more capacity |
Why a Romestead chest or worker is not working
When a Romestead chest appears empty or a worker ignores it, troubleshoot from the item outward. First confirm that the resource belongs in that storage type. Next confirm that the worker has a job that creates, hauls, or consumes the item. Only then investigate distance, blocked paths, missing tools, or a temporary update bug.
Do not diagnose a logistics problem from one frozen animation. Watch the same job for a full cycle and check whether another building is waiting for the item. A storage building can be correct while the production chain is paused because an input is missing, the recipe is not selected, the worker is assigned elsewhere, or the destination is full.
If the current build recently changed, compare the in-game tooltip with the maintained community wiki and official update context. Record what changed before rebuilding the whole base. During Early Access, an old screenshot or guide can show a valid older interaction without proving that the same control, capacity, or recipe still exists today.
| Problem | Check in this order | Safe response |
|---|---|---|
| Chest will not accept an item | Category, building rule, worker task, path | Test the same item in the documented storage type |
| Worker ignores a nearby chest | Assignment, input/output request, access | Watch one complete cycle before relocating it |
| Storage is full too quickly | Item priority, duplicate stockpiles, output queue | Add capacity only after removing the real queue |
| A route worked before an update | Current tooltip, patch notes, wiki revision | Treat old numbers and controls as historical |
| The base becomes slow after expansion | Walking distance and new work front | Move the working chest before adding more workers |
Moving, removing, and rebuilding storage safely
Players often search how to remove a chest in Romestead after placing it on the wrong route. The exact input can change with the current build and control settings, so use the interaction or construction mode shown in the game rather than copying an old keybind. Look for the current move, demolish, or rebuild action and confirm what happens to stored items before committing.
Before removing a full chest, pause the related production chain or create a temporary destination that the same item type can use. Let workers finish a short transfer when possible, then rebuild the storage point closer to the new work area. This prevents a layout fix from becoming a missing-material problem.
If the game does not expose a move action for a particular storage object, treat rebuild as the safe fallback only after checking the current community discussion. Keep the old location until the replacement is placed and tested. Never infer that a chest can be picked up just because another building can be moved.
| Before changing it | Why it matters | Safer sequence |
|---|---|---|
| Check whether it contains items | Removing storage can interrupt a chain | Pause work, make a destination, then move stock |
| Check the current control hint | Keybinds and interaction modes can change | Use the current UI instead of an old video |
| Place the replacement first | A missing destination can strand materials | Build, test one item, then dismantle the old point |
| Recheck the route afterward | A shorter-looking path may still be blocked | Watch a complete worker cycle before expanding |
Version checks: what this guide can and cannot promise
This is an independent Romestead wiki guide, not an official support page. It explains a durable storage decision process and links to current source pages, but it does not promise that every recipe, capacity, button label, or item rule will remain unchanged.
Use the official Steam page for current platform, Early Access, news, and update context. Use the community wiki pages for item-specific storage details, then compare them with the build currently installed. If the two disagree, prefer the current in-game panel and record the discrepancy before relying on an exact number.
The practical standard is simple: if a value is important to a build decision, verify it on the day you use it. If the value is not needed, follow the stable rule instead: match storage type, shorten the route, keep critical supplies protected, and test the full production loop.
| Claim type | Where to verify | How this page treats it |
|---|---|---|
| Current game status and updates | Official Steam page and news | Use as official context |
| Item storage category or capacity | Current in-game panel and wiki entry | Use with a version caveat |
| Best settlement layout | Your worker paths and bottlenecks | Treat as practical guidance, not a fixed formula |
| Old screenshots and keybinds | Date and build context | Do not treat as current proof |
Romestead chest and storage checklist
| Check | Pass signal | If it fails |
|---|---|---|
| Storage type | The item category matches the storage or building rule | Read the current panel and switch category |
| Working route | A worker can finish the loop without a long detour | Move the working chest closer |
| Capacity | The storage removes a queue instead of creating another | Find the real bottleneck before adding more |
| Worker assignment | The right worker creates, carries, or consumes the item | Fix the job or recipe first |
| Defensive access | Food and repair supplies remain reachable under pressure | Keep critical storage near the protected core |
| Version evidence | Exact values agree with the current build and source | Mark old numbers as unverified |
Romestead chest and storage FAQ
Sources and update context
- Official Romestead Steam page - Official store, Early Access, news, and update context.
- Romestead Material Storage wiki - Community-maintained item page used for storage-category and capacity cross-checks.
- Romestead Food Storage wiki - Community-maintained food-storage reference; verify against the current game build.