Romestead Night Raid Defense Guide: Torches, Walls & Combat
Protect the production loop first, then build a defense route that gives you time to fight, repair, and recover when the night pressure rises.
On this page
- The defense rule that survives most runs
- Protect the production core before the perimeter
- Build routes, gaps, and repair space
- Prepare a combat loadout that leaves options
- Use a day, night, and recovery rhythm
- Adjust the plan for solo and co-op
- Keep the guide safe across Early Access updates
- Night raid defense checklist
- Romestead combat and defense FAQ
The defense rule that survives most runs
Romestead night raid defense is a settlement-planning problem before it is a damage race. Your goal is to keep the buildings, workers, and routes that make the next day possible. A huge wall around a scattered town can look impressive and still leave the food chain, crafting stations, or citizens exposed. A compact core gives every torch, wall section, repair trip, and weapon swing more value.
Use a simple order: identify the buildings that keep food and equipment moving, light their approaches, close direct gaps with walls, and leave a safe place to fight without blocking workers. Check the current build before relying on exact timings, damage numbers, unlocks, or special enemy behavior.
| Priority | What to do | Why it matters |
|---|---|---|
| 1. Production core | Keep food, storage, crafting, and housing close enough to protect | A raid is costly when the settlement cannot restart the next morning |
| 2. Light | Place torches around the core and along likely approach routes | Light makes the defensive area easier to read and buys reaction time |
| 3. Controlled routes | Use walls and openings to make one or two approaches predictable | Predictable movement is easier to block, repair, and attack |
| 4. Player position | Reserve a standing and retreat space outside worker paths | You need room to dodge without trapping citizens or carts |
| 5. Recovery | Store repair materials, healing food, and a spare weapon | A surviving wall is not useful if you cannot restore it after the fight |
Protect the production core before the perimeter
A strong Romestead night raid defense keeps the production core reachable. Walk through the settlement during daylight and mark the buildings whose loss would stop the run: usually the main crafting station, food production, storage, and homes. Exact priorities can differ by patch, so ask which loss would make tomorrow harder and start there.
Place light where an approach reaches a critical building, then connect the next protected structure. Keep housing, food access, and repair materials inside the route when practical. A compact layout lets you reach a breach quickly; watch the enemy path and avoid chasing so far that you leave the core.
Build routes, gaps, and repair space
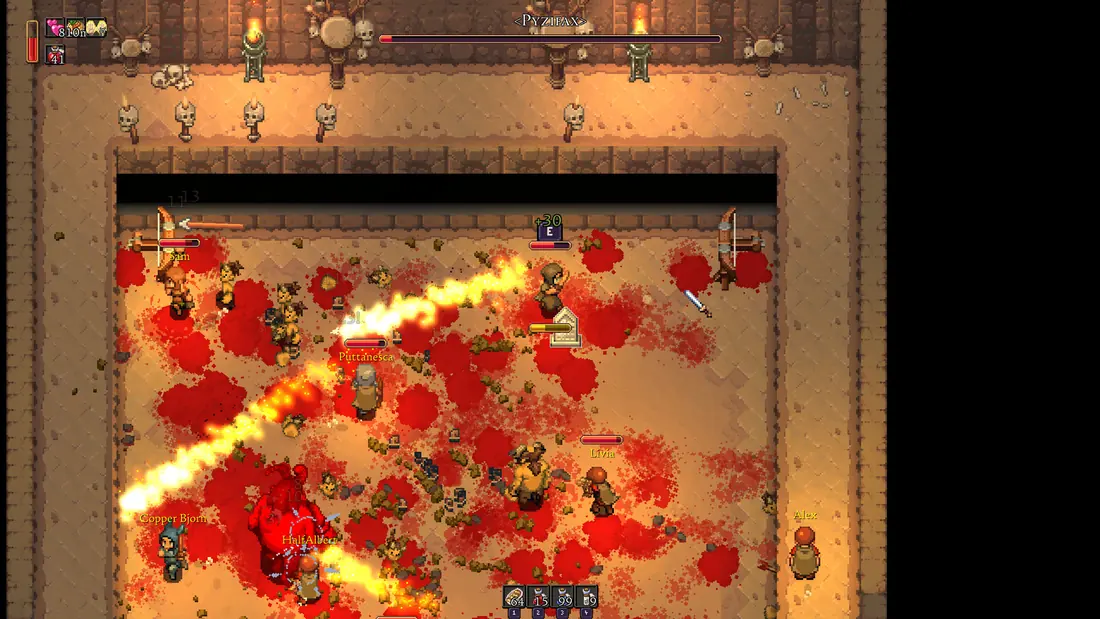
Walls work best when they make the enemy route understandable. A half-finished circle around a large settlement creates many questions at once: which gap is the real entrance, where will enemies turn, and can you reach the damaged section before the next wave? Begin with a small defended shape and extend it only after the production loop can fund the extra edge.
Leave a repair lane and enough open ground to heal, switch weapons, or retreat without crossing the crowd. Narrow paths, corners, and existing structures can reduce the directions you must watch; inspect the route in daylight and test it before extending the perimeter.
Prepare a combat loadout that leaves options
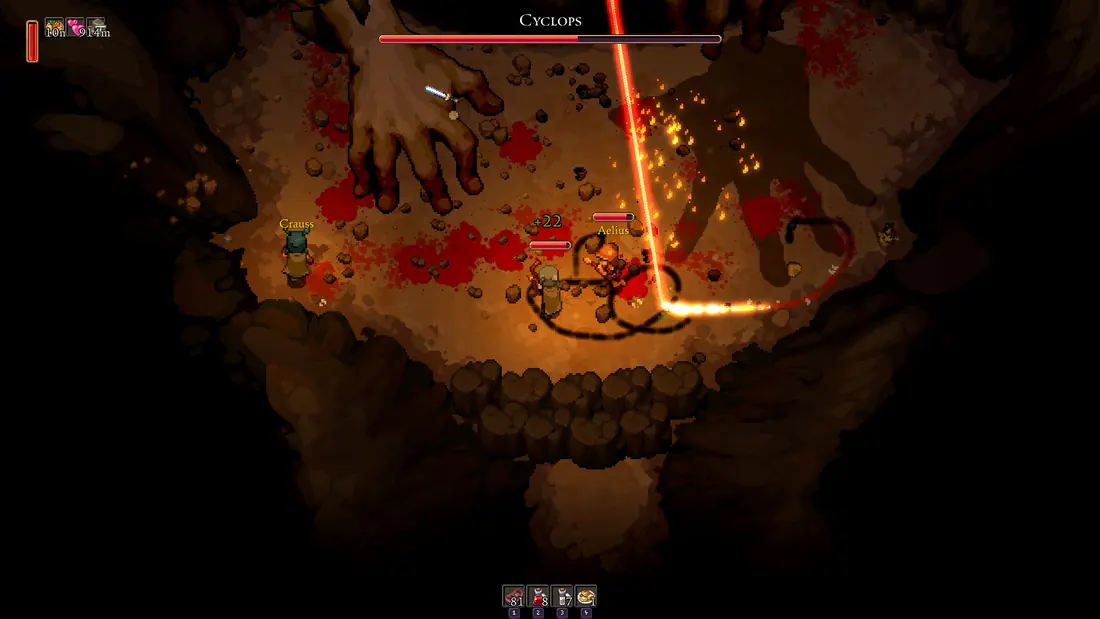
A useful Romestead combat guide should describe decisions, not promise one best weapon. Carry one dependable close-range option for enemies that reach the wall and one ranged or thrown option for targets that cannot be safely approached. If you are hauling rocks or other physical resources, remember that the world objects can also give you an emergency way to create distance; they are a backup, not a reason to skip proper equipment.
Keep stamina for a dodge or retreat instead of spending every point on attacks. Stage healing food, projectiles, and repair materials before sunset, and keep them accessible. Use the bosses and map guides for arena-specific routes; this page covers repeatable settlement defense.
| Situation | Safer choice | Common failure |
|---|---|---|
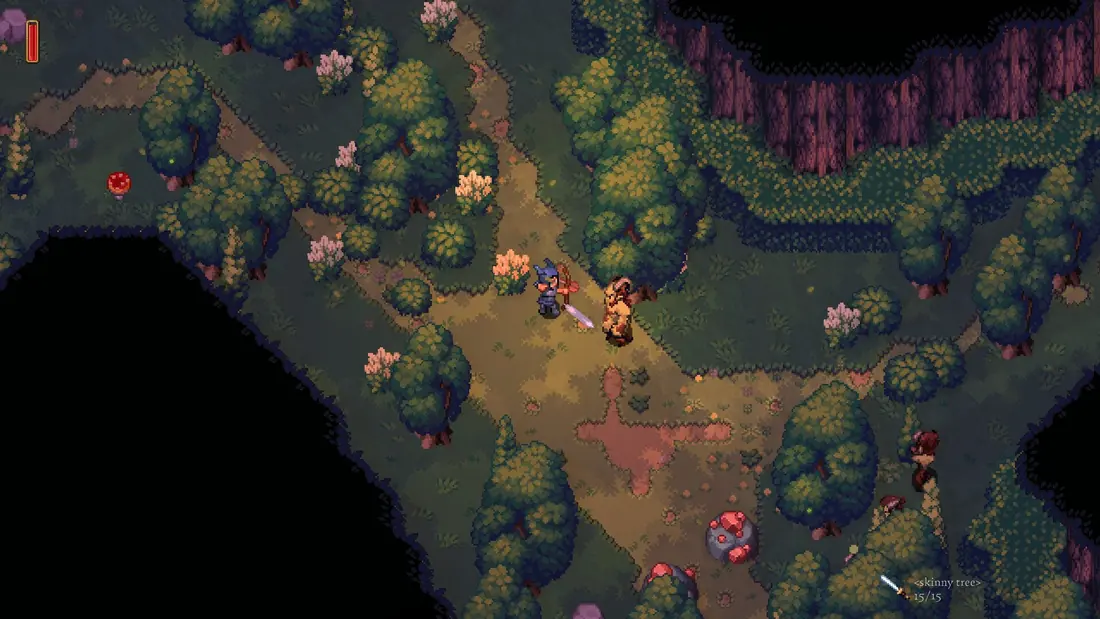
| Single enemy at the edge | Use a controlled hit, then step back to the light | Chasing into darkness and losing the core route |
| Several enemies at one opening | Hold the lane, preserve stamina, and use ranged damage when safe | Emptying stamina before the group is thinned |
| Wall breach | Move citizens and the player toward the protected fallback, then repair | Standing in the breach while workers keep walking through it |
| Return from exploration | Travel home before darkness and store valuable materials | Arriving late with no healing or repair stock |
| Boss or biome push | Use the relevant route guide and a dedicated recovery plan | Treating a boss arena like a normal night raid |
Use a day, night, and recovery rhythm
A reliable Romestead night raid defense routine gives each phase one job. During the day, gather materials and stage repairs. Before sunset, check light coverage, load food, and choose who will stay near the core. During the raid, protect the route instead of chasing one target. After sunrise, repair first and review the enemy path.
Before sunset, walk from the core to the likely entry and check visibility, repair access, and a clear retreat. After sunrise, record the building or route that failed, repair that weakness, and re-check enemy behavior after updates.
Adjust the plan for solo and co-op
Solo players need a layout that can be crossed quickly because the same character gathers, builds, fights, and repairs. Keep the core tight, avoid two simultaneous projects before a raid, and leave a fallback position where you can heal without abandoning the important route. A small reliable defense is stronger than a wide perimeter that asks one player to be in three places.
In co-op, assign the main approach, repair checks, and material handoffs before the wave appears. Use concrete callouts that name a building and an action. The co-op and server guides cover shared-world logistics; use this page for the combat layer.
Keep the guide safe across Early Access updates
Romestead is an Early Access game, so a good night raid defense guide separates stable reasoning from values that can move. Compact layouts, protected production, staged recovery materials, and readable approach routes are planning principles. Enemy names, exact wave sizes, item costs, god unlock order, and the strength of a particular defense are version-sensitive details.
Check the official Steam page, recent patch notes, and current in-game text before following precise claims. Community guides can surface tactics but cannot prove that an old value still matches your build. Keep a normal fallback for experiments and avoid treating one weapon, god, or schedule as permanent.
Night raid defense checklist
| Check | What to confirm | Why it matters |
|---|---|---|
| Core buildings | Food, storage, crafting, and housing sit inside a short protected route | The settlement can restart after damage |
| Torch line | Critical buildings and the main approach are visible before the wave arrives | You can see movement and choose a safe fight position |
| Wall route | Openings are intentional and repair space remains usable | Enemies are easier to predict and walls are easier to restore |
| Combat kit | Close-range option, ranged or thrown backup, healing, and spare repair materials | You have a response when the first plan breaks |
| Return timing | Exploration ends early enough to reach the settlement before darkness | Late arrivals do not start the raid empty-handed |
| Morning review | You know which building, route, or resource failed | The next upgrade fixes a real weakness instead of adding clutter |
Romestead combat and defense FAQ
Sources and update notes
- Official Romestead Steam page - Check the live Early Access status, updates, screenshots, and developer announcements before relying on version-sensitive facts.
- Games.gg night raid defense guide - A third-party strategy reference used to compare torch, wall, approach, and raid-scaling sections; exact claims should be rechecked in-game.
- Romestead Beginner Guide - Internal context for the first settlement loop, resources, villagers, and early defense decisions.